Physical Address
304 North Cardinal St.
Dorchester Center, MA 02124
Physical Address
304 North Cardinal St.
Dorchester Center, MA 02124


Learn how to cancel online subscriptions on iPhone, Android, and desktop in 2026 — find hidden charges and stop unwanted monthly payments. Save money monthly.
It starts with a free trial. “Just enter your card details — you won’t be charged.” Three months later, you notice a charge you do not recognize. Then another. Money has been quietly leaving your account every month for services you barely use — or completely forgot existed.
You are not alone in this. Subscription creep affects almost everyone with a smartphone. The fix is simple: once a year, hunt down every subscription, cancel what you do not need, and set up habits so it never happens again. This guide shows you exactly how to cancel online subscriptions on iPhone, Android, and desktop — step by step, in plain language.

Before canceling anything, you need the full list. Subscriptions hide in three places, so check all three:
Make one simple list — on paper or in your phone’s notes app — with three columns: the service name, the monthly cost, and whether you actually use it. This list is your battle plan.
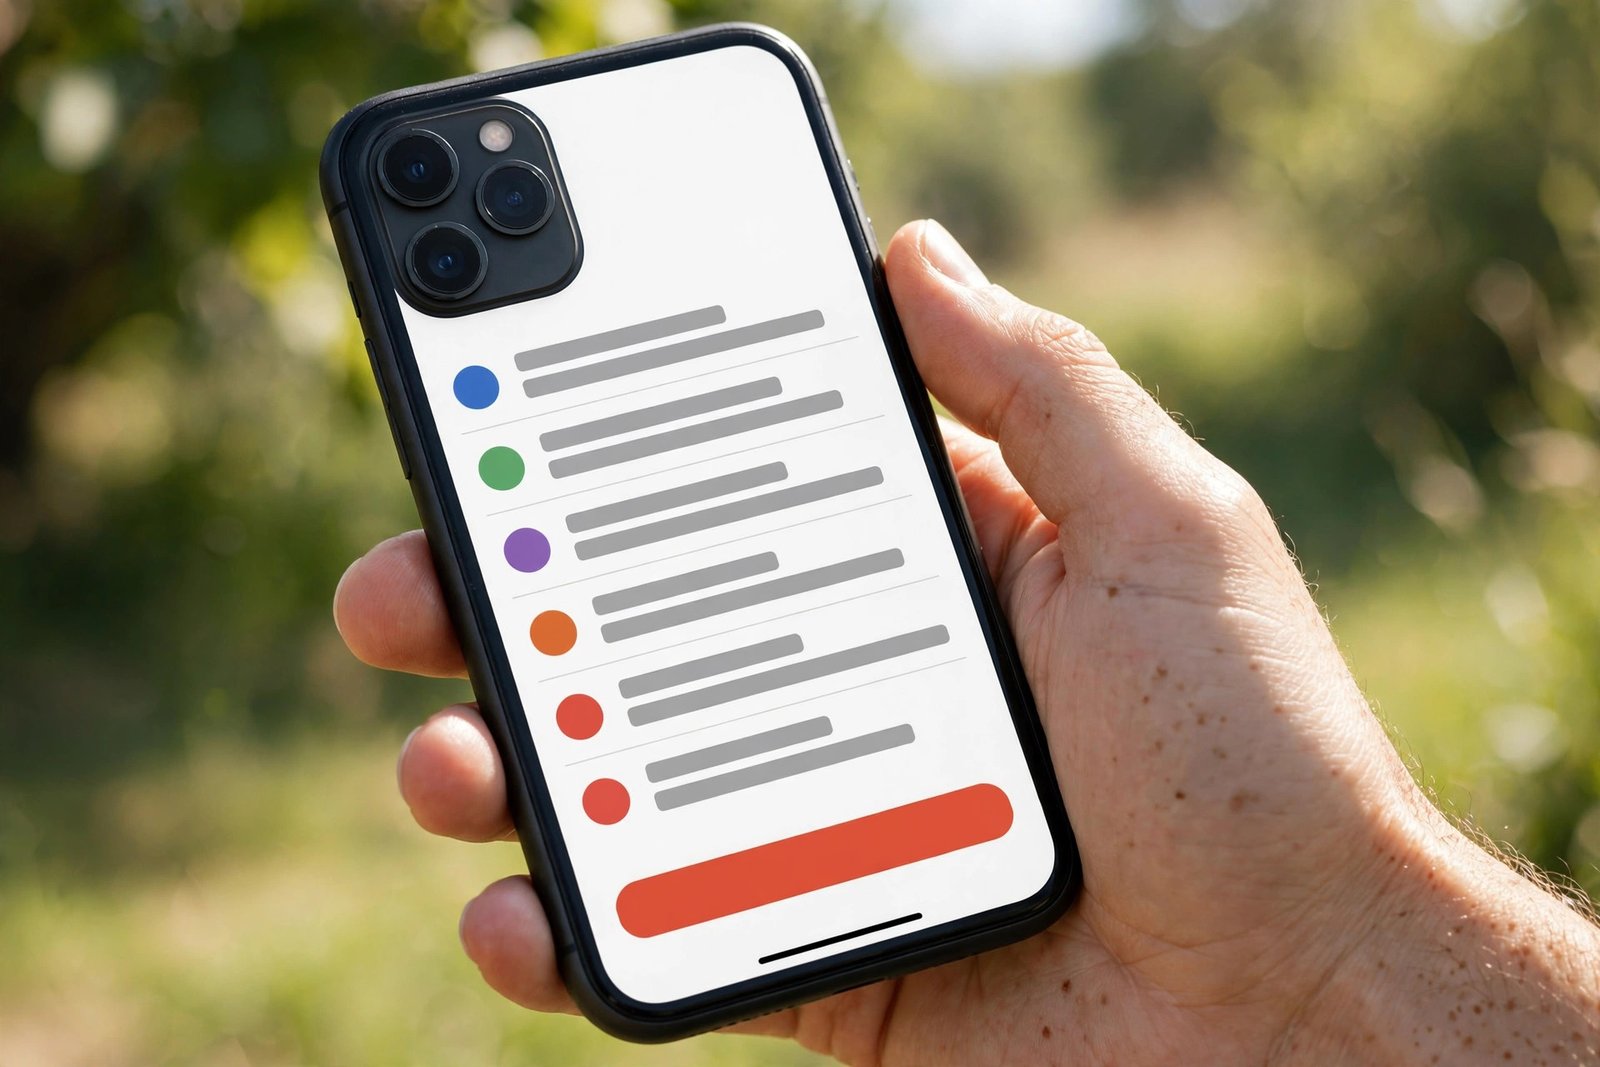
Apple keeps all App Store subscriptions in one place, which makes canceling easy:
Important: deleting the app from your phone does not cancel the subscription. This is the most common and most expensive mistake. You must cancel in Settings, even if you already deleted the app months ago.
If you do not see a “Cancel” button and instead see an expiry date, the subscription is already set to cancel — nothing more to do.
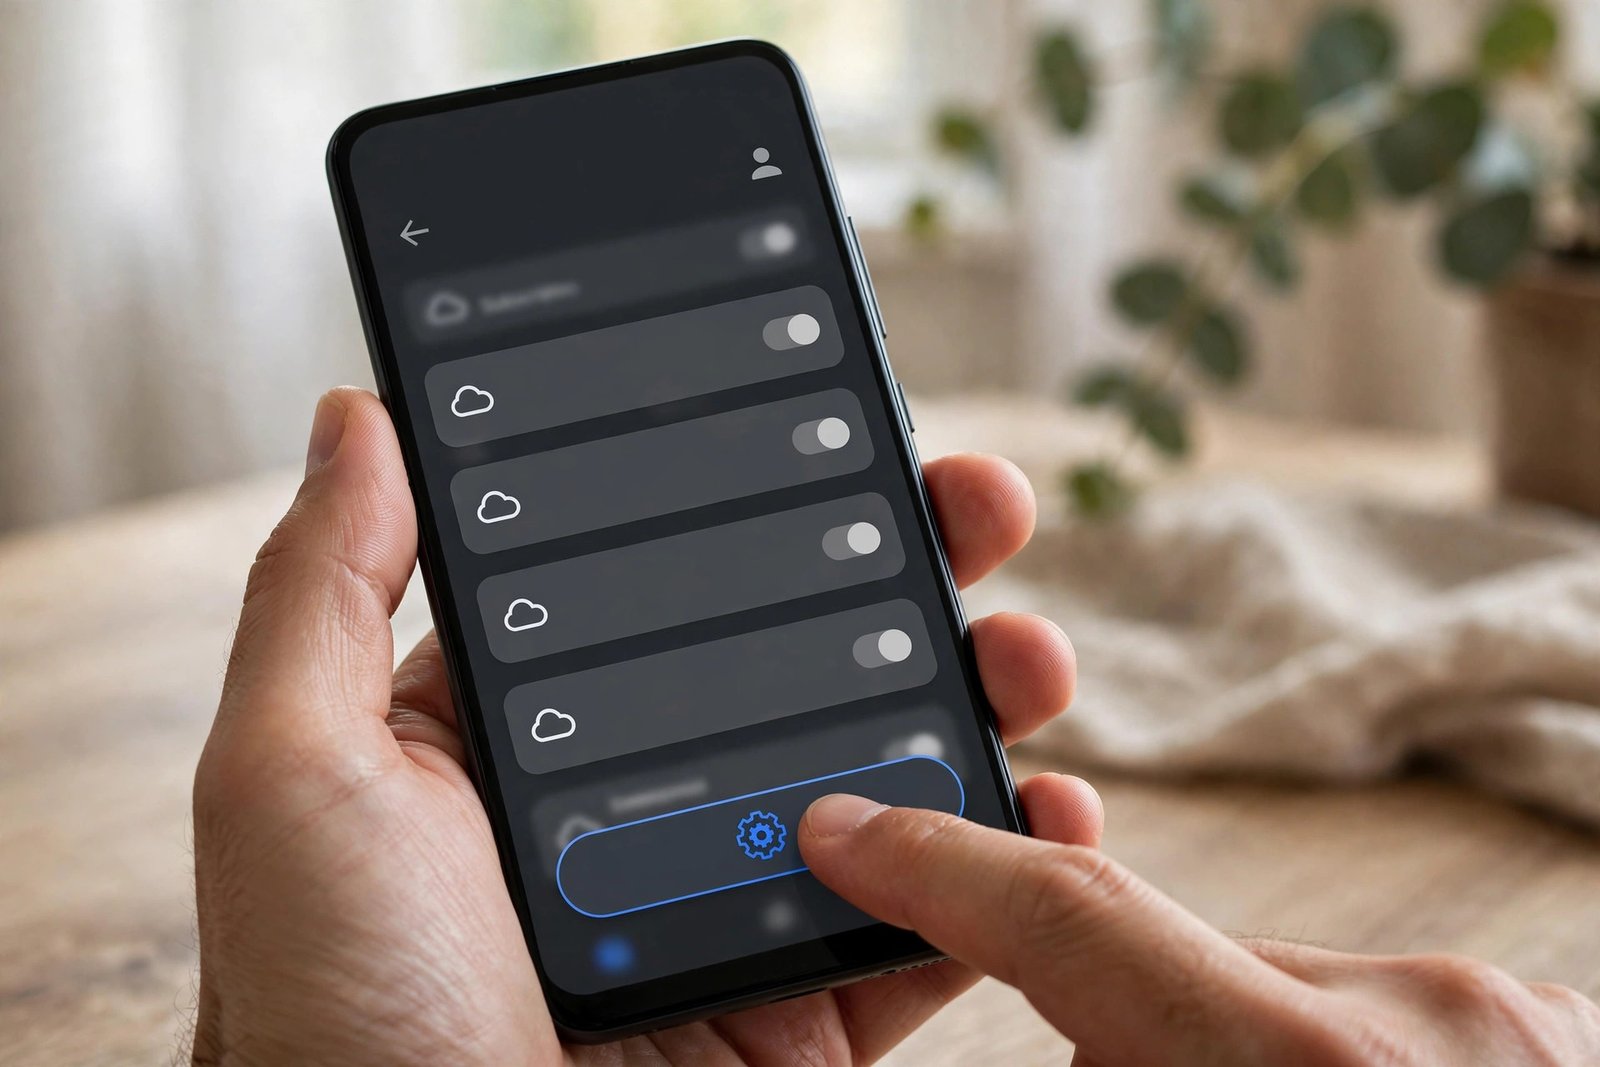
Google Play has its own central list for subscriptions billed through Android apps:
No Android phone handy? You can do the same from any browser: go to play.google.com, sign in with the Google account that owns the subscription, open Payments & subscriptions → Subscriptions, and cancel there.
One confusing case: if you switched from Android to iPhone, your old Google Play subscriptions keep charging — changing phones does not stop them. Check play.google.com even if you no longer own an Android device.
Many subscriptions — streaming services, news sites, software — were signed up for directly on a website, not through an app store. For these, you must cancel on the company’s own site:
Some companies make the cancel button hard to find — tiny text, buried menus, multiple “are you sure?” screens. This is deliberate. Stay patient, do not click any “keep my benefits” offers unless you truly want them, and complete every step until you see a clear confirmation message.
Free trials deserve special attention because they are designed to convert into paid subscriptions silently. The trick companies count on is simple: you forget, they charge.
Here is a strategy that beats the system: cancel the trial immediately after signing up. This sounds strange, but on both iPhone and Android, canceling a free trial does not end it early — you keep full access until the trial period finishes, and the subscription simply does not renew. Check the confirmation screen to make sure it says you will keep access until a specific date.
If you prefer to decide later, set two reminders: one two days before the trial ends (to evaluate whether it is worth keeping), and one on the final day as a safety net. Name the reminder clearly, like “Cancel music app trial,” so future you knows exactly what to do.
Also watch out for trials that ask for card details upfront versus those that do not. A trial with no card required cannot charge you — it simply expires. A trial that required your card can and will charge you the moment it ends. Treat those with extra caution.
Canceling today’s unwanted subscriptions is only half the job. These five habits keep your money safe going forward:
Usually not. When you cancel, you keep access until the end of the period you already paid for, but you are not charged again. Some services offer partial refunds as a goodwill gesture if you ask support politely — it never hurts to ask.
Deleting an app never cancels its subscription. Go to your iPhone’s Settings → Subscriptions or Google Play → Payments & subscriptions → Subscriptions, find it, and cancel properly. If the subscription is not listed there, you signed up on the company’s website — log in there to cancel.
You must cancel where you bought it. A subscription purchased through the Apple App Store can only be canceled in your iPhone settings; one bought through Google Play can only be canceled in the Play Store. Check your original signup email to see which store billed you.
First, keep your cancellation confirmation emails as proof. If charges continue after a confirmed cancellation, contact your bank or card provider to dispute the charge — most banks have a straightforward process for unauthorized recurring payments in their app.
They can help if you have many subscriptions across different platforms, since they scan your statements and list everything in one place. But a free twice-yearly manual audit using your bank statements works just as well — and costs nothing.
Finding and canceling forgotten subscriptions is one of the highest-value chores on the internet: fifteen minutes of work, every six months, can save you real money every single month.
Start today. Check your statements, open your subscription lists, and cancel one thing you do not use. Then set that six-month reminder. Future you — the one with a cleaner bank statement — will be grateful.

